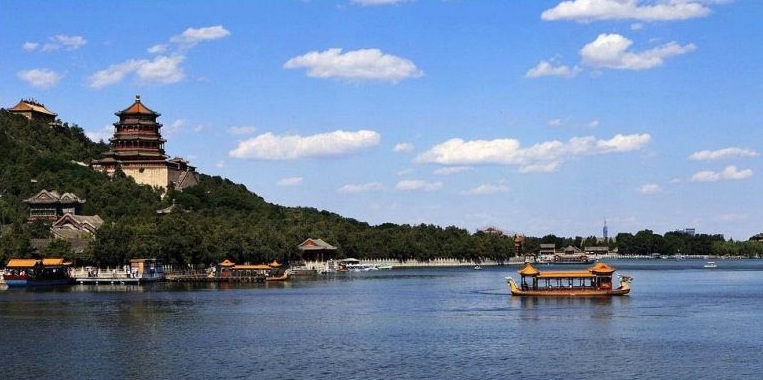
1.jpg

2.jpg
1.对1.jpg 分别作灰度化, 模糊化处理.
代码如下
"""
 @Project: imageProcessing
 @Author: loyio
 @Date: 3/20/21
"""
from PIL import Image, ImageFilter

if __name__ == '__main__':
    # greyscale
    imgfileOne = "Sample/1"
    sample_img = Image.open(imgfileOne+".jpg").convert('L')
    sample_img.save(imgfileOne+"_processed_gray.jpg")

    # Blur
    # sample_img = Image.open(imgfileOne+".jpg").filter(ImageFilter.BLUR)
		sample_img = Image.open(imgfileOne+".jpg").filter(ImageFilter.BoxBlur(5))
    sample_img.save(imgfileOne + "_processed_blur.jpg")
图片效果如下
灰度处理

模糊处理

2.对2.jpg生成手绘效果
代码如下
"""
 @Project: imageProcessing
 @Author: loyio
 @Date: 3/20/21
"""
from PIL import Image, ImageFilter
import numpy as np

if __name__ == '__main__':
    # Paint
    imgfileTwo = "Sample/2"
    sample_img_ary = np.asarray(Image.open(imgfileTwo+".jpg").convert('L')).astype('float')

    depth = 10.
    grad_x, grad_y = np.gradient(sample_img_ary)
    grad_x = grad_x * depth / 100.
    grad_y = grad_y * depth / 100.

    A = np.sqrt(grad_x ** 2 + grad_y ** 2 + 1.)
    uni_x = grad_x / A
    uni_y = grad_y / A
    uni_z = 1. / A

    vec_el = np.pi / 2.2
    vec_az = np.pi / 4.
    dx = np.cos(vec_el) * np.cos(vec_az)
    dy = np.cos(vec_el) * np.sin(vec_az)
    dz = np.sin(vec_el)

    sample_processed_ary = (255 * (dx*uni_x + dy*uni_y + dz*uni_z)).clip(0, 255)

    im = Image.fromarray(sample_processed_ary.astype('uint8'))
    im.save(imgfileTwo+"_processed_handpaint.jpg")
- 首先将图片灰度化,然后转换为float类型,存放在numpy array中
- 通过
np.gradient求灰度图像的梯度(即灰度的变化率),将其赋值给grad_x,grad_y,并根据深度级别计算新的梯度,同时归一化。将其控制在(0,1) - 为x,y轴梯度构建三维归一化单位坐标系。
- 建立光源效果,可以将
np.cos(vec_el)分析为单位射线在地平面上的投影长度。dx,dy和dz是光源在x / y / z方向上的影响。 - 梯度与光源相互作用,最终将梯度转换为灰度。即
sample_processed_ary = 255 * (dx*uni_x + dy*uni_y + dz*uni_z) - 为避免越过边界,最后还要调用函数
.clip(0,255)
图片效果如下
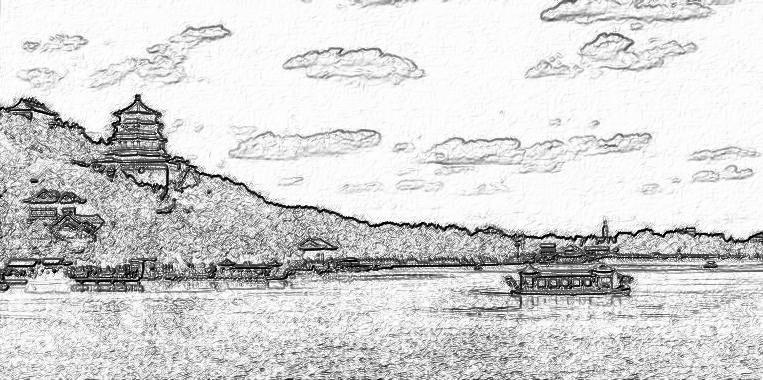
手绘效果